How to Repair Rotted Wood Trim
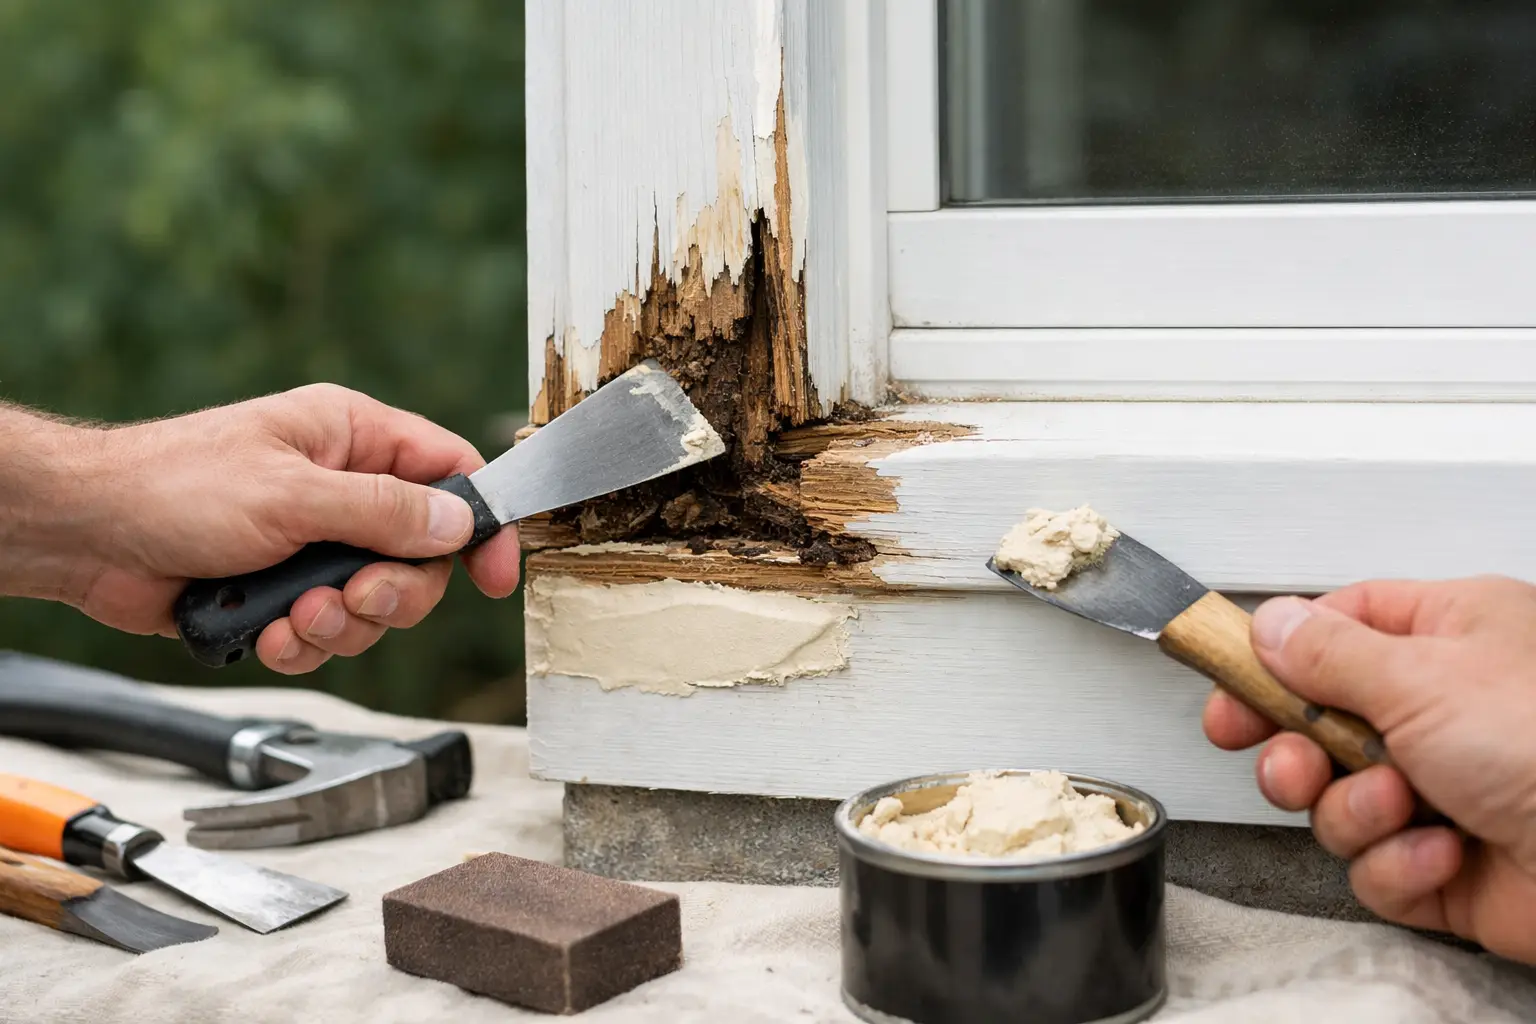
Wood trim rarely rots all at once. It usually starts with a soft corner near a window, a split at the bottom of a door casing, or peeling paint that keeps coming back no matter how many times it gets touched up. If you are looking up how to repair rotted wood trim, the real job is not just patching the surface. It is finding out how far the damage goes, stopping the moisture, and making a repair that will hold up.
In homes across Tallahassee, Marianna, Dothan, and nearby areas, trim damage often shows up after long exposure to humidity, wind-driven rain, sprinkler spray, clogged gutters, or old caulking that has failed. Exterior trim takes the biggest hit, but interior trim can rot too if there has been a leak around a window, door, or plumbing line.
How to repair rotted wood trim the right way
The first step is figuring out whether the trim can be repaired or should be replaced. That decision depends on how much of the board is affected and whether the wood still has enough solid material left to support a lasting fix.
Press a screwdriver or awl into the suspect area. Sound wood will resist pressure. Rotted wood will feel soft, crumbly, or spongy. If the damage is shallow and limited to a small section, an epoxy wood repair may work well. If the board is badly deteriorated, split through, or rotten along a long run, replacement is usually the better option.
This is where many homeowners lose time. They patch over wet or unstable wood, repaint it, and then watch the same area fail again in a few months. A good repair starts with dry conditions, clean removal of damaged material, and attention to the source of the water.
Start by fixing the moisture problem
Before any repair begins, the trim needs a chance to stay dry. If water is still getting in, even a well-done patch can fail early. Check for cracked caulk, missing paint, overflowing gutters, roof runoff, poor flashing, and landscaping or sprinklers that keep hitting the trim.
Around windows and doors, failed caulk joints are a common cause. At the bottom of exterior trim boards, water often wicks up from repeated ground contact or wet surfaces. On porch posts and column trim, standing water and hidden seam failures can create more rot than is visible from the outside.
Remove all loose and decayed wood
Once the area is dry, scrape off peeling paint and remove every section of loose or soft wood. Be thorough. Leaving even a small amount of decayed material behind can weaken the repair. For shallow damage, this may mean chiseling out the bad wood until only firm material remains. For more advanced damage, it may mean removing the full board.
If you uncover blackened wood, insect activity, or damp sheathing behind the trim, the problem may extend deeper than the face board. That is a sign to slow down and assess the framing and substrate before closing anything back up.
When a filler repair makes sense
If the rot is localized and the trim profile is worth saving, a two-part wood epoxy is often the best repair material. It bonds well, can be shaped after curing, and holds paint better than quick cosmetic fillers used for nail holes or minor dents.
After the damaged wood is removed, the remaining area should be clean and dry. Some repairs call for a liquid wood hardener first, especially if the surrounding wood is slightly softened but still structurally worth keeping. Then the epoxy filler is applied in layers as needed, shaped to match the original trim, and sanded smooth once cured.
This approach works well for small sections of window trim, door casings, fascia corners, and decorative details where replacing the entire piece would take more labor than the repair itself. The trade-off is that epoxy repairs are only as good as the prep. If the area is still wet, moves excessively, or has widespread rot beyond what is visible, replacement is more reliable.
Prime, caulk, and paint matter as much as the patch
A repair is not finished when the filler hardens. The patched area needs to be sanded, primed, caulked where joints require it, and painted with proper exterior or interior coatings. End cuts and exposed edges deserve extra attention because they absorb water fast.
Skipping primer is one of the most common reasons patched trim fails early. Bare wood and repair compounds need a sealed surface before paint goes on. Good caulking at joints also helps keep water from working its way behind the trim.
When replacement is the better repair
Sometimes the best answer to how to repair rotted wood trim is not patching it at all. If the board is soft across a wide area, if the trim has lost its shape, or if rot extends into fastener locations and joints, replacement gives a cleaner and longer-lasting result.
Careful removal matters here. Trim boards are often tied into nearby siding, flashing, or adjacent moldings. Pulling them off too aggressively can damage surrounding materials and create a bigger repair. Once the board is removed, inspect what is behind it. If the sheathing or framing is damaged, that needs to be addressed before new trim goes up.
For the new piece, matching the material and profile matters for both appearance and performance. In some locations, wood is still the right choice, especially if the home has traditional details that need to be preserved. In other cases, PVC or composite trim may make more sense where repeated moisture exposure has caused ongoing issues.
That choice depends on the location. Wood can look more original and take paint well, but it needs proper maintenance. PVC resists rot, but it expands and contracts differently and may not be ideal for every trim style. Composite products can be durable, though not every profile is available.
Install replacement trim with moisture in mind
When new trim is installed, the goal is not just to cover the opening. It is to build the area back in a way that sheds water. That means proper clearance from roofing, concrete, or soil where needed, sealed joints, primed cuts, and good caulking practices.
If the original rot started because the board sat too close to a wet surface, simply installing the same detail the same way can recreate the problem. A small adjustment in spacing, flashing, or caulk joint design can make a big difference over time.
Common areas where rot hides
Window trim is one of the biggest trouble spots because failed caulk and paint allow water to linger at corners and sill areas. Door trim can rot near the bottom where runoff and splashback collect. Fascia and soffit trim often hide moisture damage caused by roof edge problems or clogged gutters.
Columns, porch trim, garage door trim, and rake boards are also common failure points. On the inside of the home, baseboards and casings can rot near leaking windows, exterior doors, tubs, and plumbing walls. By the time paint bubbles or wood softens, the moisture may have been there for a while.
That is why surface appearance alone is not enough. A small blemish may hide a limited repair, or it may be the edge of a larger issue. The only way to know is to open the area carefully and inspect it.
Should you repair it yourself or call a pro?
For a small, accessible patch with no sign of deeper water damage, a skilled homeowner may be able to handle the work. But once trim removal affects siding, flashing, framing, ladders, or custom profiles, professional repair is often the safer and more cost-effective route.
A handyman or trim repair specialist can usually spot whether the damage is cosmetic or structural, determine what caused it, and complete the repair so it blends with the surrounding finish. That matters when the trim is on a visible front entry, around multiple windows, or tied into other exterior materials.
For homeowners who would rather not spend a weekend chasing rot from one board to the next, Sola Handyman Services helps with practical repairs that protect the home and clean up the way it looks at the same time.
How to keep wood trim from rotting again
The best follow-up is regular inspection. Walk the exterior a few times a year and look for peeling paint, open joints, soft spots, and caulk that has pulled away. Keep gutters clear, keep sprinklers off the house, and do not let mulch or soil stay packed against trim boards.
Fresh paint does more than improve curb appeal. It is part of the protection system. When paint starts to fail, moisture gets an easier path into the wood. Catching that early usually means a smaller repair.
If a piece of trim feels soft, do not wait for it to collapse or spread. Rotted trim rarely gets better on its own, and early repair is usually simpler than replacing a larger section later. A solid fix now can save the surrounding materials and help the rest of the home stay in better shape.