How to Replace Baseboards Without Damaging Walls
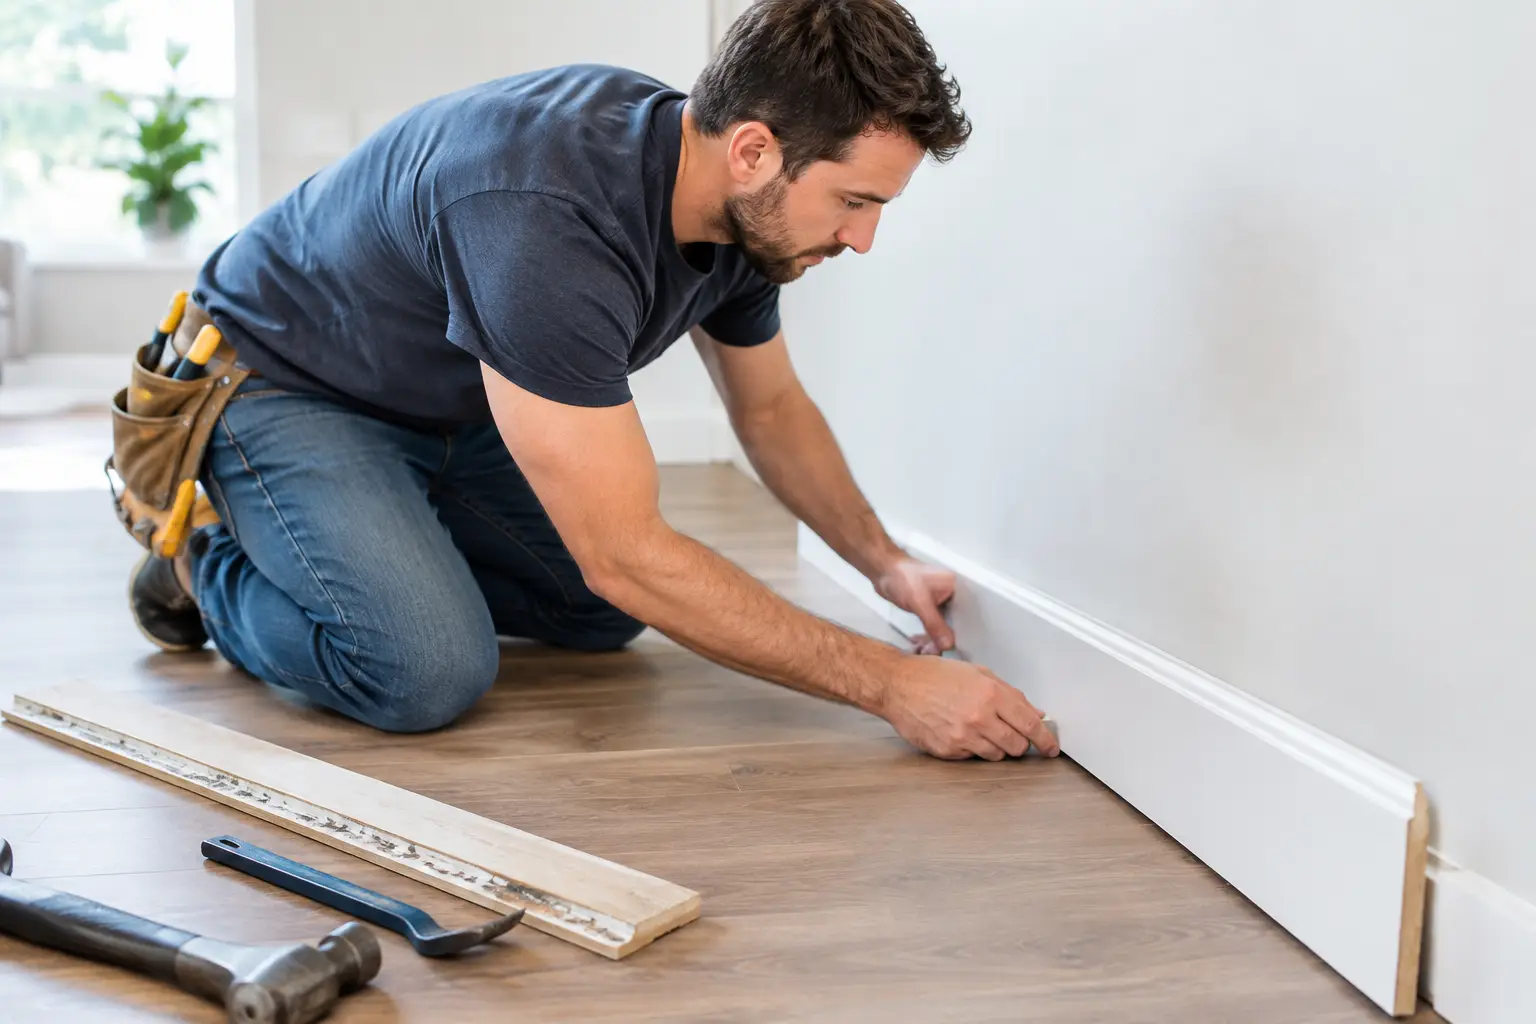
Baseboards take more abuse than most homeowners realize. Vacuum bumps, pet scratches, moisture, furniture moves, and everyday traffic can leave them chipped, loose, or stained. Learning how to replace baseboards can refresh a room quickly, but clean results depend on careful removal, accurate measuring, and proper finishing.
This is a manageable project for an experienced DIY homeowner, especially in a square room with simple trim. If the room has uneven walls, damaged drywall, complex corners, or extensive flooring gaps, professional installation can save time and prevent a finish that looks pieced together.
Decide Whether to Replace or Repair
Before pulling off existing trim, look closely at the damage. Small nail holes, scuffs, and minor separations at the wall can usually be repaired with wood filler and paintable caulk. A loose section may only need a few finish nails and touch-up paint.
Replacement makes more sense when baseboards are swollen from water damage, badly cracked, heavily dented, or no longer match the style of an updated room. Homeowners also commonly replace baseboards after installing new flooring. The new material may sit lower or leave a visible gap that the old trim cannot cover.
Choose the replacement material with the room in mind. Primed MDF creates a smooth painted finish and is affordable, but it does not hold up well in areas with repeated moisture exposure. Solid wood is durable and works well when staining is planned, though it costs more and may need more preparation. PVC trim is a practical option for bathrooms, laundry rooms, and other damp spaces because it resists moisture.
Tools and Materials for Baseboard Replacement
A clean installation requires more than trim and a hammer. Gather the materials before removing the old boards so the project does not stall midway through. You will typically need a utility knife, pry bar, putty knife, hammer or trim puller, tape measure, pencil, miter saw, coping saw or file, finish nailer or hammer and finish nails, construction adhesive, wood filler, paintable caulk, sandpaper, primer, and paint.
A stud finder is helpful, particularly if you are nailing thicker wood trim. Safety glasses are essential when cutting boards or pulling nails. If the home was built before 1978 and the existing trim has old paint, use appropriate lead-safe work practices before sanding or disturbing painted surfaces.
For most painted baseboards, pre-primed material reduces work. It still needs paint after installation, but the factory primer helps create a more consistent finish. Buy about 10 percent more trim than your measurements require to allow for cutting mistakes, waste, and unexpected wall variations.
How to Remove Old Baseboards Carefully
The biggest risk during removal is tearing drywall paper or breaking the wall edge above the trim. Start by running a sharp utility knife along the top seam where the baseboard meets the wall. This cuts through paint and caulk, reducing the chance that the finish pulls away with the board.
Slide a wide putty knife between the wall and the baseboard, then place a pry bar against the putty knife rather than directly against the drywall. Work gradually along the board, loosening it a little at a time. Do not force one spot outward too far. That is how drywall dents and cracks happen.
As the board comes free, pull or hammer down any exposed nails. Remove old caulk, loose paint, and debris from the wall and floor line. If drywall paper tears, seal the damaged area with primer before patching it with joint compound. Let repairs dry fully, sand them smooth, and prime again before the new trim goes up.
Measure Each Wall Instead of Assuming the Room Is Square
Measure every wall individually. Even a room that appears square can have walls that are slightly longer, shorter, or out of angle. Record the measurements in a simple sketch of the room, marking doorways, closets, and outside corners.
For straight runs that end at a doorway or other trim, use square cuts. For outside corners, two 45-degree miter cuts are standard when the corner is a true 90 degrees. Check the corner before cutting all your material. Older homes often have walls that are slightly off, and a pair of 45-degree cuts can leave an open joint.
Inside corners are best handled with a coped joint, especially in homes where walls are not perfectly square. One board is installed with a square-cut end into the corner. The face profile of the second board is cut with a coping saw so it fits over the first piece. It takes more time than two miter cuts, but it hides small wall-angle differences much better.
When possible, cut long boards slightly oversized, test-fit them, and trim carefully. A board that is too short can leave a noticeable gap. A board that is slightly long can usually be adjusted for a tight fit.
Install New Baseboards With Secure, Clean Fastening
Dry-fit each piece before applying adhesive or driving nails. Check that it sits flat against the wall and floor without rocking. Minor floor variation is common, particularly in older houses. The baseboard should follow the floor line as closely as possible, while the upper edge remains visually straight.
Apply a thin bead of construction adhesive to the back only when needed. Adhesive can help secure trim where studs are difficult to locate, but do not rely on it alone if you expect future repairs or renovations. It can also make removal harder and increase drywall damage later.
Fasten the baseboard into wall studs whenever possible. A finish nailer makes this faster and leaves small holes, but finish nails driven by hand also work. Place nails near the upper and lower portions of the board, typically every 16 to 24 inches, while avoiding a pattern that leaves the face of the trim looking over-nailed.
For long runs, make sure adjoining boards meet over a stud when possible. This gives the joint solid support. Use scarf joints, which are angled overlapping cuts, rather than straight butt joints for long walls. A scarf joint is less noticeable and less likely to open as the trim expands and contracts.
Caulk, Fill, and Paint for a Finished Appearance
The finishing work is what separates a basic installation from trim that looks professionally installed. Set every nail slightly below the surface, fill the holes with paintable wood filler, and sand the filler smooth after it dries. Use a light hand so you do not round over crisp trim edges.
Apply a narrow bead of paintable caulk along the top edge where the baseboard meets the wall. Caulk small gaps at joints and outside corners as needed. Do not use caulk to hide large gaps caused by poor cuts or severely uneven walls. Those areas may need a better-fitting piece of trim, wall repair, or a different trim profile.
Avoid caulking along the bottom edge against the floor unless there is a specific reason, such as preventing insects from entering a small gap. Baseboards should generally allow flooring materials to move naturally with seasonal changes. This matters most with hardwood and laminate flooring.
After the filler and caulk have cured, spot-prime bare areas and apply two finish coats of quality trim paint. Semi-gloss and satin are common choices because they are easier to wipe clean than flat paint. Let each coat dry properly before moving furniture back into place.
When It Makes Sense to Call a Professional
Replacing baseboards becomes more complicated when it involves multiple rooms, tall custom trim, curved walls, substantial water damage, or flooring that has shifted. It can also be difficult when walls need repair before new trim is installed. In those situations, the project is not only about attaching boards. It requires carpentry, surface preparation, and finishing work that all need to look consistent.
For homeowners in Tallahassee, Marianna, Dothan, and nearby communities, Sola Handyman Services can help with baseboard replacement as part of a repair, flooring, or remodeling project. A skilled installer can handle removal, wall repairs, precise cuts, fastening, caulking, and paint-ready finishing without leaving you to solve gaps and damaged drywall after the fact.
New baseboards are a small detail with a noticeable effect on a room. Take the time to fit each board correctly and finish every seam cleanly, and the result will make the walls, floors, and overall space look better cared for.